
The autumn glory of the mitten-shaped state does, however, come with an expiration date. I'm not quite sure when that is, but eventually the leaves fall from the trees, the temperature nosedives and the sky becomes that slate gray overcast color for a seeming eternity. The sun sets at 5:03pm.
HOWEVER
Butternut squash recipes live on!
The Oops! team has spent the last couple months eating squash of all kinds. This year (along with years past), I've noticed that while many recipes featuring butternut squash exist everywhere, almost all of them start with something similar to this:
"3 cups butternut squash, peeled and cut into 1-inch chunks."
I used to read sentences like this, then steal a glance at the large, bulbous, vaguely phallic vegetable sitting on the counter, and feel a creeping sense of dread. Fear. Anxiety. Feelings one should NEVER associate with a gift as delicious and healthful as the butternut squash.
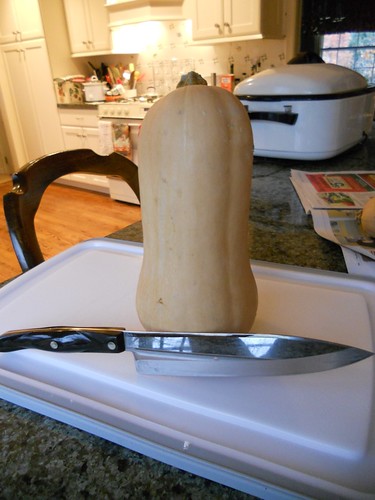
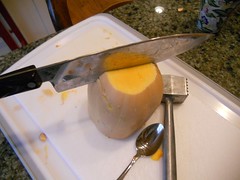
Well, after a fall of practice, I finally feel confident hacking apart any butternut squash that comes my way. Here's how I go from this:
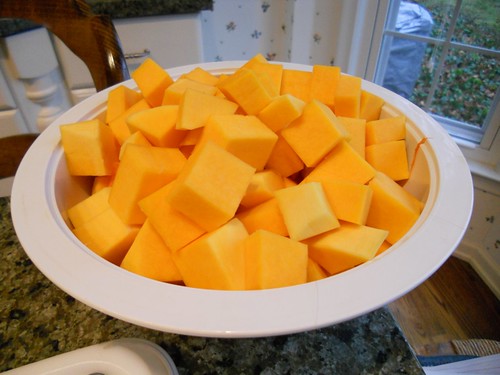
to this:
1. Assemble your tools. I use a big cutting board, a sharp knife, a kitchen mallet, a spoon and a bowl.
2. Laying the squash on its side, cut the sucker in half crosswise. Use the force, but safely. Depending on the size of the squash, I may or may not need to use a mallet to help drive my knife. This cut gives you two flat surfaces that are nice and stable to work with.
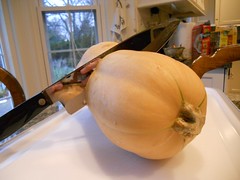
3. Take the bulbous end and set it flat-side-down on the cutting board. Chop the sucker in half.

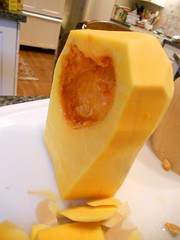
4. Using your spoon, scrape away the seeds and pulp and set aside to throw in the compost bin. Setting the squash on its flat side, carefully peel the squash using your knife. I think this is much easier than using a vegetable peeler.
5. I like to clear the cutting board of peels as I go. Once you've cleaned up, set a peeled squash half on its flat side and cut into slices, then chunks. Be mindful of the stability of your slices - sometimes I try to stack too many slices at once, and they start to slip around. BETTER SAFE THAN SORRY.

6. Repeat with the other half of the bulb. You're halfway done!
7. Next, attack the top half of the squash. If you find your squash lacking in flat, stable sides to cut from, create your own! Show that squash who's holding the knife in this relationship!
8. Peel, baby, peel.
9. Slice and chunk. Throw the chunks in a bowl. You're doing it!
10. You're done!!

Remember, practice makes perfect. The more you try, the better you'll get and the more confidence you'll build. But what became of this squash featured here, you ask? Stay tuned...
Can't wait - i am so tuned!!
ReplyDeleteSo informative! Thanks! I've never done this before, but I'll definitely try it the next time I do a squash.
ReplyDeleteI like the knife placed in front of the phallic squash. Excellent composition.
ReplyDelete